British Shortcrust Pie Pastry: A Culinary Journey
British shortcrust pie pastry, a staple in kitchens across the UK, has a rich history and a timeless appeal. This simple yet versatile pastry has been a cornerstone of British cuisine for centuries, evolving alongside culinary traditions and reflecting the ingenuity of generations of cooks.
From humble beginnings to its modern-day variations, British shortcrust pastry has always been about the perfect balance of texture and flavor. The crisp, buttery crust, often filled with savory or sweet delights, is a testament to the art of baking and the enduring appeal of traditional recipes.
Visual Representation: British Shortcrust Pie Pastry
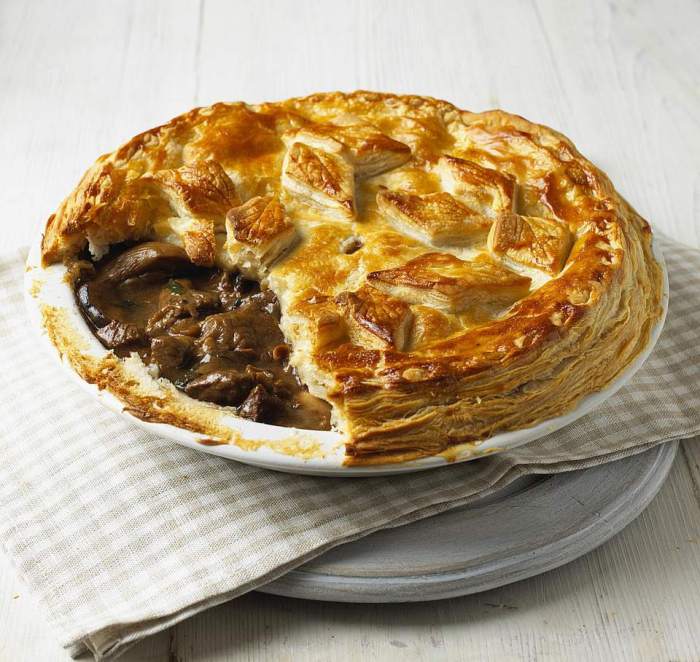
A visual representation of the steps involved in making British shortcrust pastry provides a clear and concise guide for understanding the process. Each step is accompanied by a descriptive caption, highlighting key techniques and considerations.
Preparing the Ingredients, British shortcrust pie pastry
This step involves gathering all the necessary ingredients and measuring them accurately. The key ingredient in British shortcrust pastry is flour, which provides the structure. Butter, which adds richness and flavor, should be cold and diced into small pieces. Salt enhances the flavor of the pastry, while water binds the ingredients together.
- Place the flour in a large bowl and add the diced butter.
- Rub the butter into the flour using your fingertips until the mixture resembles breadcrumbs. This ensures that the butter is evenly distributed throughout the flour and prevents the pastry from becoming tough.
- Add the salt and gradually incorporate the cold water, mixing until the dough just comes together. Avoid overworking the dough, as this can result in a tough pastry.
Forming the Pastry
This step involves bringing the dough together and shaping it into a disc.
- Turn the dough out onto a lightly floured surface and knead it gently for a few seconds. Avoid overworking the dough, as this can result in a tough pastry.
- Shape the dough into a disc, wrap it in cling film, and refrigerate it for at least 30 minutes. This allows the gluten in the flour to relax, resulting in a more tender pastry. It also allows the butter to firm up, which helps to prevent the pastry from shrinking during baking.
Rolling Out the Pastry
This step involves rolling out the chilled pastry to the desired thickness.
- Remove the pastry from the refrigerator and lightly flour a work surface. This prevents the pastry from sticking to the surface.
- Roll out the pastry using a rolling pin, applying even pressure to ensure that the pastry is rolled out evenly. Roll the pastry in one direction, then turn it 90 degrees and roll it again. This ensures that the pastry is rolled out evenly and prevents it from becoming too thin in one area.
- The pastry should be rolled out to a thickness of about 3mm for a pie crust. This ensures that the pastry is cooked through but not too thick.
Assembling the Pie
This step involves lining the pie dish with the pastry and adding the filling.
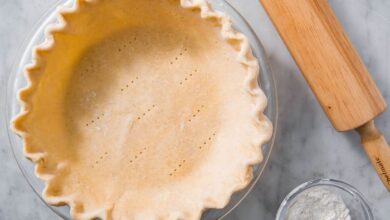
- Line the pie dish with the rolled-out pastry, pressing it gently into the corners. Make sure that the pastry is evenly distributed and that there are no gaps.
- Trim any excess pastry from the edges of the pie dish. This ensures that the pastry is neatly finished and that the edges of the pie crust are not too thick.
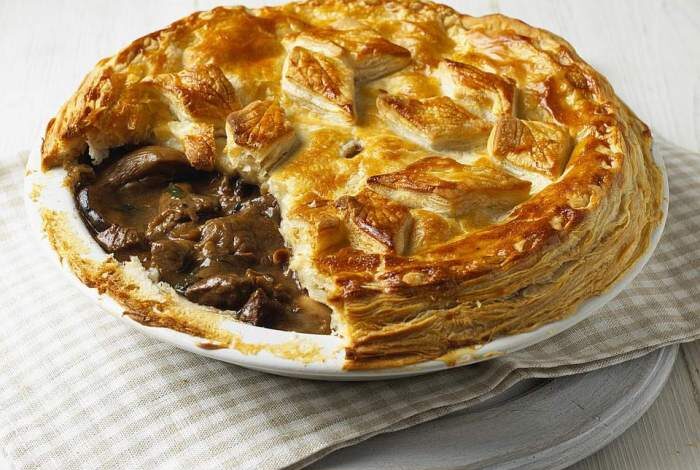
- Add the filling to the pastry-lined pie dish. The filling can be sweet or savory, depending on the type of pie you are making.
Baking the Pie
This step involves baking the pie until the pastry is golden brown and the filling is cooked through.
- Preheat the oven to 180°C (350°F). This ensures that the pastry cooks evenly and that the filling is cooked through.
- Bake the pie for 30-40 minutes, or until the pastry is golden brown and the filling is cooked through. The exact baking time will vary depending on the type of pie you are making and the size of the pie dish.

