Delicious And Easy Corn On The Cob
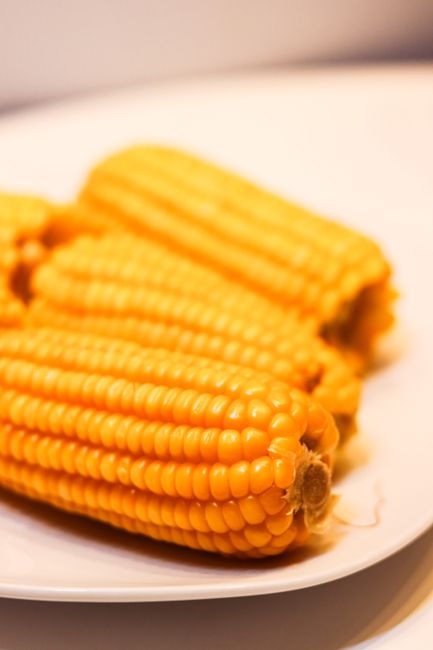
The Ultimate Guide to Delicious and Easy Corn on the Cob: Perfect Every Time
Mastering the art of perfectly cooked corn on the cob is a culinary cornerstone, surprisingly simple yet capable of delivering immense satisfaction. This guide delves deep into the methods and techniques that guarantee sweet, tender kernels bursting with flavor, making it an indispensable addition to any summer feast or casual meal. We’ll explore various cooking approaches, from the classic boil to innovative oven and grill methods, providing detailed instructions and highlighting key considerations for achieving optimal results. Understanding the science behind corn’s sweetness and texture is crucial. Corn is a naturally sweet vegetable, its sugars converting to starch as it ages. Therefore, freshness is paramount. The moment corn is picked, its sugars begin to degrade. This means selecting the freshest possible ears will directly translate to the sweetest and most flavorful final product. Look for vibrant green husks, tightly wrapped, and avoid those with dry or brown silks. A quick squeeze can also reveal plumpness, indicating healthy, developing kernels. Understanding the anatomy of a corn cob – the kernels, the silk, and the husk – allows for a more informed approach to cooking. The husk acts as a natural protective layer, retaining moisture and infusing subtle sweetness during the cooking process. The silk, while often removed before cooking, can also contribute to the overall flavor profile if left intact for certain methods.
Boiling Corn on the Cob: The Classic and Consistently Delicious Method
Boiling remains a beloved and straightforward method for preparing corn on the cob, celebrated for its simplicity and reliability. The objective is to cook the corn until tender, locking in its natural sweetness without overcooking, which can lead to a rubbery texture. Begin by preparing your corn. Carefully peel back the husks and remove the silks. While some advocate for leaving a few silks on for added flavor, most prefer a clean cob for aesthetic and textural reasons. A quick rinse under cool water is usually sufficient. Fill a large pot with enough cold water to generously cover the corn cobs. Avoid adding salt to the boiling water. Contrary to popular belief, salting the water can actually draw out moisture from the corn kernels, leading to a tougher, less sweet result. Instead, season your corn after it has been cooked. Bring the water to a rolling boil. Once boiling, carefully add the prepared corn cobs to the pot. Ensure the cobs are fully submerged. The cooking time is surprisingly short: typically, 4 to 6 minutes for fresh, young corn. Overcooking is the most common pitfall. The kernels should be tender and plump, yielding easily to a gentle poke with a fork. Taste a small piece after 4 minutes to gauge doneness. For older or larger cobs, you might need an additional minute or two, but err on the side of caution. Once cooked, immediately remove the corn from the boiling water using tongs. Draining the corn on the cob in a colander is an important step to prevent it from becoming waterlogged. Serve hot, and then the real fun begins: seasoning.
Seasoning and Serving Boiled Corn: Elevating the Flavor Profile
The true magic of perfectly boiled corn on the cob lies in its versatility of seasoning. While a generous slathering of butter and a pinch of salt is a timeless classic, numerous other flavor combinations can elevate this humble vegetable to gourmet status. Unsalted butter is the foundation for many flavor profiles, allowing the natural sweetness of the corn to shine through. For a simple yet elegant enhancement, consider compound butters. Mix softened butter with finely chopped fresh herbs like chives, parsley, cilantro, or dill. Garlic powder or minced garlic, a squeeze of lemon juice, or a pinch of cayenne pepper can add depth and a touch of heat. Smoked paprika offers a smoky, slightly sweet note that complements the corn beautifully. For a spicier kick, try adding a dash of your favorite hot sauce to the softened butter, or mixing in some finely diced jalapeños. Consider a chili-lime butter, combining butter with lime zest, lime juice, chili powder, and a touch of cumin. Nutritional yeast can provide a cheesy, umami flavor for a dairy-free option. Beyond butter, consider other toppings. A drizzle of olive oil, followed by flaky sea salt and freshly ground black pepper, is a lighter yet equally delicious alternative. Grated Parmesan cheese, while not traditional, is a surprisingly delightful addition for some. A sprinkle of smoked sea salt or pink Himalayan salt can also offer a subtle mineral complexity. When serving, present the corn cobs on a platter, allowing guests to customize their own toppings. The visual appeal of golden kernels, lightly glistening with butter or oil, is also an important part of the dining experience.
Grilling Corn on the Cob: Smoky, Charred Perfection
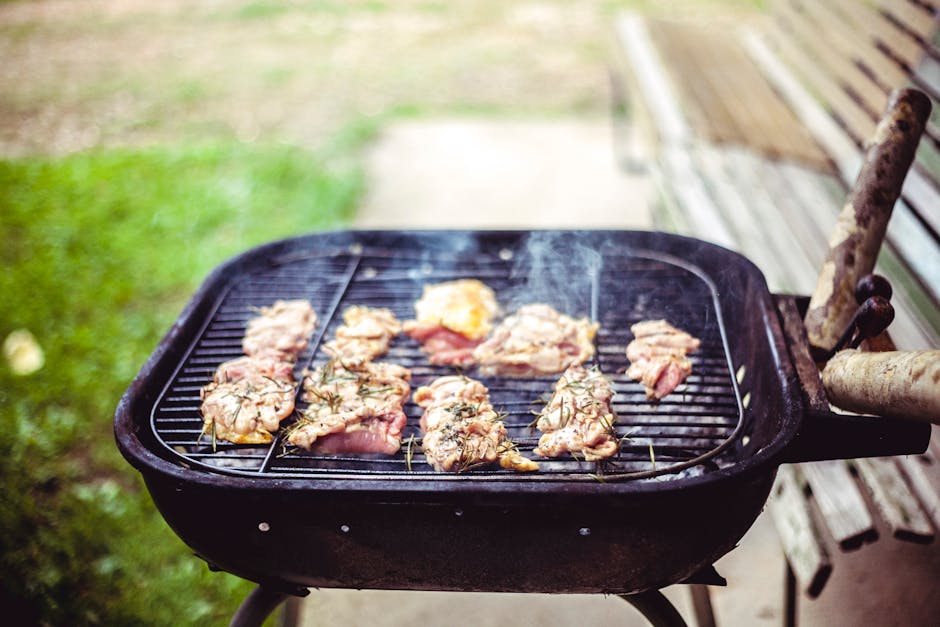
Grilling corn on the cob imparts a unique smoky flavor and a delightful char that is unmatched by other cooking methods. This technique is ideal for outdoor gatherings and barbecues, adding an element of casual sophistication to any meal. There are two primary methods for grilling corn: directly on the grates or in its husk.
Grilling Corn Directly on the Grates (Husk Removed): This method allows for maximum smoky flavor and creates beautiful grill marks. Start by shucking your corn completely and removing all the silk. Brush each cob liberally with olive oil or melted butter. Season generously with salt and pepper. Preheat your grill to medium-high heat. Place the oiled and seasoned corn cobs directly on the hot grill grates. Grill for approximately 10-15 minutes, rotating the cobs frequently to ensure even cooking and charring. You’re looking for tender kernels and appealing char marks on all sides. The exact time will depend on your grill’s temperature and the size of the cobs. Be attentive to prevent burning.
Grilling Corn in its Husk: This method offers a more hands-off approach and steams the corn within its natural wrapper, resulting in exceptionally tender and moist kernels. Begin by soaking the un-husked corn cobs in water for at least 30 minutes. This is a crucial step to prevent the husks from catching fire. You can soak them in a sink filled with water or in a large cooler. Once soaked, place the corn cobs directly on the preheated grill grates. Grill for approximately 20-30 minutes, rotating them every 5-7 minutes. The husks will darken and may char, but the corn inside will steam and become tender. To check for doneness, carefully peel back a small section of the husk at the top. If the kernels are tender and bright yellow, the corn is ready. Be cautious when handling hot corn cobs wrapped in husks.
Serving Grilled Corn: Once grilled, remove the corn from the heat. If you grilled them in their husks, carefully peel back the charred husks. You can then butter, salt, and pepper as desired. The smoky notes from the grill will already have infused the corn, so you may find you need less seasoning. Consider topping grilled corn with a drizzle of lime juice and a sprinkle of chili powder for a vibrant Mexican-inspired flavor. A dollop of cilantro-lime crema or a sprinkle of cotija cheese also complements the smoky char beautifully.
Oven-Roasted Corn on the Cob: Sweet and Caramelized Results
Oven roasting corn on the cob offers a convenient and effective way to achieve sweet, tender kernels with slightly caramelized edges, especially during cooler months or when an outdoor grill isn’t an option. This method allows for hands-off cooking and consistent results.
Method 1: Roasted in the Husk: Similar to grilling in the husk, this method steams the corn while infusing it with subtle roasted flavors. Preheat your oven to 400°F (200°C). Soak the un-husked corn cobs in water for at least 30 minutes. This prevents the husks from drying out and burning. Place the soaked corn cobs directly on a baking sheet. Roast for 20-30 minutes, or until the kernels are tender and bright yellow. You can peel back a small section of the husk to check for doneness.
Method 2: Roasted with Foil (Husk Removed): This method concentrates the corn’s natural sweetness and can lead to a more pronounced caramelization. Preheat your oven to 400°F (200°C). Shuck the corn completely and remove all silks. Brush each cob liberally with olive oil or melted butter. Season with salt and pepper. Wrap each corn cob tightly in aluminum foil. Place the foil-wrapped corn cobs on a baking sheet. Roast for 25-35 minutes, or until the kernels are tender. The foil creates a steaming environment, and the kernels will begin to caramelize slightly as they cook.
Serving Roasted Corn: Once roasted, carefully unwrap the corn cobs. They will be hot. Serve with your favorite toppings, such as butter, salt, pepper, or herbs. The natural sweetness of oven-roasted corn makes it a delightful base for a variety of flavor profiles. Consider a sprinkle of smoked paprika for a hint of smokiness or a dusting of Parmesan cheese for a savory kick.
Microwaved Corn on the Cob: The Speediest Solution
For those seeking the absolute quickest way to enjoy corn on the cob, the microwave reigns supreme. While it might not deliver the same depth of flavor as grilling or roasting, it’s an incredibly efficient method for achieving tender, cooked corn in a matter of minutes.
Microwaving in the Husk: This is the preferred method for microwaving as the husk helps to retain moisture and steam the kernels. Select fresh corn cobs with intact husks. Rinse the cobs under cold water, ensuring the husks are damp. Place 1-2 cobs directly on a microwave-safe plate. Do not use a paper towel or cover. Microwave on high power for 3-5 minutes per cob, depending on your microwave’s wattage. Check for doneness by carefully peeling back a section of the husk; the kernels should be tender and bright yellow.
Microwaving without the Husk (in a plastic bag): If you’ve already shucked your corn, you can still microwave it. Place the shucked corn cobs in a microwave-safe plastic bag, leaving it slightly ajar to allow steam to escape. Microwave on high power for 3-4 minutes per cob. This method can sometimes result in slightly drier kernels compared to microwaving in the husk.
Serving Microwaved Corn: Once cooked, carefully remove the corn from the microwave (it will be hot!). Remove the husks and silks. Serve immediately with your preferred toppings. Butter, salt, and pepper are classic choices. The speed of this method makes it perfect for a quick weeknight side dish or a last-minute addition to a meal.
Corn on the Cob FAQs: Addressing Common Questions
Q1: How do I choose the freshest corn?
A: Look for bright green husks that are tightly wrapped. The silks should be moist and dark brown, not dry or brittle. Squeeze the cob; it should feel firm and plump. Avoid corn with any signs of insect damage or discoloration.
Q2: Should I salt the boiling water for corn?
A: No, it is generally not recommended to salt boiling water for corn. Salting the water can draw out moisture from the kernels, leading to a tougher and less sweet result. Season your corn after it has been cooked.
Q3: How do I prevent my corn from becoming rubbery?
A: The primary cause of rubbery corn is overcooking. For boiled corn, aim for 4-6 minutes for fresh, young cobs. For other methods, keep a close eye on the cooking time and test for tenderness. Freshness of the corn also plays a significant role in its texture.
Q4: Can I cook corn on the cob ahead of time?
A: While fresh is always best, you can partially cook corn and then finish it later. For boiled corn, you can cook it for about half the recommended time, then cool it in ice water. You can then reheat it in boiling water or on the grill. Roasted or grilled corn can also be gently reheated. However, for optimal sweetness and texture, it’s best to cook corn just before serving.
Q5: What are some creative topping ideas for corn on the cob?
A: Beyond butter and salt, explore compound butters with herbs, garlic, or spices. Consider a drizzle of chili-lime dressing, a sprinkle of cotija cheese, or a dollop of avocado crema. Smoked paprika, nutritional yeast, and even a touch of honey can add unique flavor dimensions.
Q6: How long does corn on the cob last?
A: Fresh corn on the cob is best consumed the day it’s purchased. If you must store it, keep it in its husks in the refrigerator for 1-2 days. The longer it sits, the more its sugars will convert to starch, diminishing its sweetness.
Q7: What is "sugary" corn versus "field" corn?
A: Sugary corn, also known as sweet corn, is specifically cultivated for its high sugar content and is meant for eating fresh off the cob. Field corn, also called dent corn, has a lower sugar content and higher starch content, making it ideal for animal feed, cornmeal, and industrial uses. Always use sweet corn for eating on the cob.
Q8: How do I remove silk from corn easily?
A: After shucking, use a clean vegetable brush or a slightly damp paper towel to rub down the cob. The silks will cling to the brush or towel. Alternatively, microwaving corn in its husk for a minute before shucking can sometimes loosen the silks, making them easier to remove.
Q9: Can I freeze corn on the cob?
A: Yes, you can freeze corn on the cob, but it’s best to blanch it first. Blanching helps to preserve its color, flavor, and nutrients. Boil the corn for a few minutes, then immediately plunge it into ice water. Once cooled, you can freeze the cobs whole or cut them into pieces.
Q10: What’s the best way to know when corn is perfectly cooked without overcooking it?
A: The most reliable method is to taste. For boiled corn, test a kernel after 4 minutes and continue cooking in 30-second increments if needed. For grilled or roasted corn, you can gently squeeze a kernel; it should be plump and tender, yielding easily to pressure. Visually, the kernels should appear plump and a vibrant yellow.