
Blooming Onion And Dipping Sauce
The Ultimate Guide to Blooming Onion and Dipping Sauce: A Culinary Masterpiece
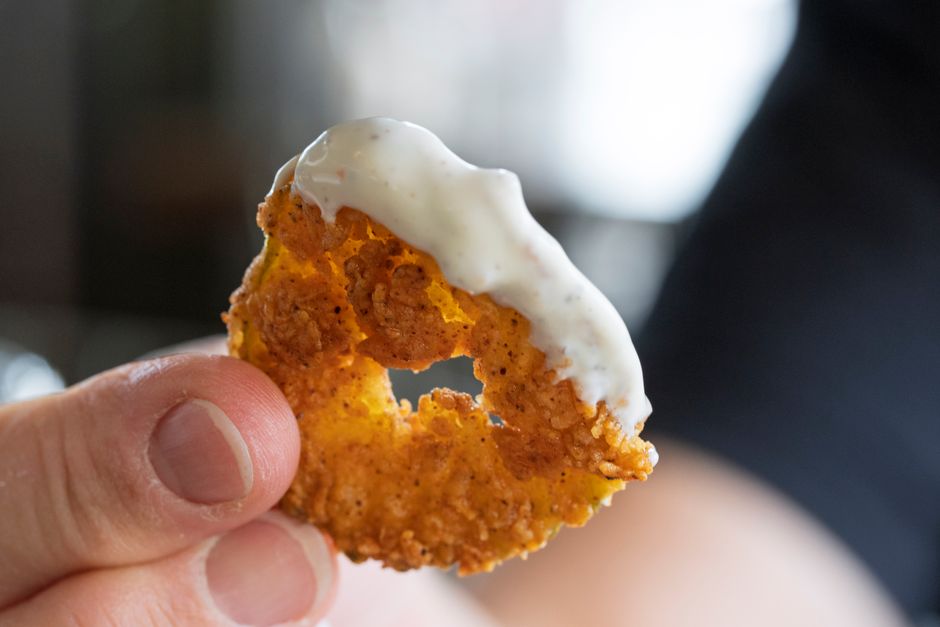
The blooming onion, a theatrical appetizer that transforms a humble onion into a crispy, golden marvel, is a testament to culinary ingenuity. This layered delight, with its petals fanned out and fried to perfection, offers a satisfying crunch that gives way to a tender, sweet interior. The magic of the blooming onion lies not only in its preparation but equally in its accompaniment: the dipping sauce. A well-crafted sauce elevates the experience, providing a creamy, tangy, or spicy counterpoint that balances the richness of the fried onion. This comprehensive guide delves into the intricacies of creating the perfect blooming onion, from selecting the ideal bulb to mastering the delicate frying process, and explores a spectrum of dipping sauce recipes designed to tantalize every palate. Understanding the foundational elements of both components is crucial for replicating this popular restaurant staple at home.
Choosing the Perfect Onion for Your Blooming Onion Masterpiece
The foundation of an exceptional blooming onion is, unequivocally, the onion itself. Not all onions are created equal when it comes to this specific preparation. The ideal onion for blooming is a large, sweet variety, possessing a firm texture and a relatively mild flavor profile. Overly pungent or small onions can result in a less visually appealing and potentially overpowering dish.
Yellow Onions: These are the quintessential choice for blooming onions. Their balanced sweetness and robust flavor, which mellows significantly during the cooking process, make them highly adaptable to the frying and seasoning stages. Yellow onions also tend to have a substantial size, allowing for the characteristic "bloom" when cut. Their papery skins are easy to remove, and they hold their structure well during the intricate cutting process.
Sweet Onions (Vidalia, Walla Walla, Maui): These varieties take the sweetness of the yellow onion to another level. Their naturally low sulfur content results in a milder, sweeter taste that is particularly delightful when fried. Sweet onions are known for their large size and juicy interiors, which contribute to a tender outcome. However, their higher moisture content can sometimes make them slightly more challenging to achieve extreme crispness, requiring careful attention to frying temperature and time.
Red Onions: While less common for traditional blooming onions, red onions can be used and offer a visually striking alternative. Their slightly sharper flavor can be a compelling contrast, especially when paired with a sweet or tangy dipping sauce. However, red onions can sometimes turn a darker, less appealing color when fried for extended periods, so vigilance is necessary. Their layered structure is still conducive to the blooming technique.
White Onions: White onions are generally sharper and more pungent than yellow or sweet onions. While they can be bloomed, their flavor might be more assertive, and they might not achieve the same level of sweetness as their counterparts. They can be a good option for those who prefer a bolder onion flavor.
Size Matters: Regardless of the variety chosen, select an onion that is substantial in size. Aim for onions that are at least 4 inches in diameter. Smaller onions will not open up as dramatically, and the individual "petals" will be too small to effectively hold the batter and achieve a satisfying crunch. A larger onion ensures that the cutting technique creates distinct, fryable sections.
Firmness and Condition: Inspect onions for any signs of softness, bruising, or spoilage. A firm onion indicates freshness and will hold its shape better during the cutting and frying processes. Avoid onions with sprouting green shoots, as this signifies age and can negatively impact flavor and texture.
The Art of Cutting the Blooming Onion: Achieving the Perfect Bloom
The signature "bloom" of this appetizer is achieved through a precise cutting technique. This process requires a sharp knife and a steady hand to create the desired fanned-out effect without fully detaching the onion’s core.
Preparation:
- Trim the Top: Using a sharp chef’s knife, slice off about ½ to 1 inch from the stem end of the onion. This creates a flat surface for stability.
- Leave the Root Intact: Crucially, do not cut off the root end. This is the anchor that holds the onion together.
The Cutting Technique:
- Place the Onion Root-Down: Position the prepared onion on a stable cutting board with the trimmed side facing up and the root end firmly planted.
- The First Cut: Make a vertical cut from the trimmed top down towards the root, but stop about ½ inch from the root. Do not cut all the way through.
- Subsequent Cuts: Rotate the onion 45 degrees and make another vertical cut, again stopping ½ inch from the root. Continue this process, rotating the onion and making cuts every 45 degrees, until you have made four distinct cuts. This will create eight sections.
- Further Subdivision (Optional for More Petals): For a more elaborate bloom with smaller, more numerous petals, you can further subdivide each of the eight sections. With the onion still root-down, make a vertical cut in the middle of each existing section, again stopping ½ inch from the root. This will result in 16 sections. For an even more intricate bloom, you can continue this process to 32 sections, but this requires significant skill and patience.
- Gently Separate the Petals: Once the cuts are made, gently insert your fingers between the layers near the top and carefully pull them apart. The onion should naturally start to fan out. Be cautious not to over-manipulate, which could cause the sections to detach.
The "Bloom" Enhancement (Optional):
Some chefs recommend gently separating the petals further by lightly squeezing the onion from the sides or carefully fanning them outwards with your fingers. This helps to create more distinct, fryable "petals" and enhances the visual appeal.
Breading and Frying the Blooming Onion: Achieving Golden Perfection
The batter and frying process are critical for transforming the raw, cut onion into its crispy, delicious final form. This stage requires attention to detail regarding batter consistency, oil temperature, and frying time.
The Batter: A successful batter for blooming onions needs to adhere well, create a crispy coating, and impart flavor. A common base includes flour, cornstarch (for crispiness), and seasonings.
Key Batter Ingredients:
- All-Purpose Flour: Provides the structural base for the coating.
- Cornstarch or Rice Flour: Contributes significantly to crispiness and prevents greasiness.
- Salt: Enhances the overall flavor.
- Black Pepper: Adds a subtle kick.
- Paprika: For color and a mild, sweet pepper flavor.
- Garlic Powder/Onion Powder: Amplifies the inherent onion flavor.
- Cayenne Pepper (Optional): For a touch of heat.
- Liquid: Typically a combination of water and sometimes beer or milk. Beer adds carbonation, which can contribute to a lighter, crispier coating. Milk can add richness.
Batter Consistency: The batter should be thick enough to coat the onion without being overly heavy or gloopy. It should have a consistency similar to pancake batter. Too thin, and it will slide off; too thick, and it will be doughy. Adjust with more liquid or flour as needed.
Dredging and Batter Application:
- Dry Dredge: After cutting, it’s common to lightly dredge the onion in seasoned flour before dipping it in the batter. This dry layer helps the wet batter adhere better.
- Batter Dip: Submerge the onion, root-down, into the prepared batter. Ensure all the cut surfaces are thoroughly coated. You may need to gently spoon some batter into the inner crevices to ensure even coating.
- Second Dredge (Optional): For an extra crispy coating, some recipes call for a second dredge in a seasoned flour/breadcrumb mixture after the batter.
Frying:
- Oil Selection: Use a neutral-flavored oil with a high smoke point, such as canola oil, vegetable oil, or peanut oil.
- Oil Temperature: This is paramount. Maintain the oil temperature between 350°F and 375°F (175°C to 190°C).
- Too Low: The onion will absorb too much oil and become greasy.
- Too High: The exterior will burn before the interior is cooked through and crispy.
- Frying Method:
- Deep Frying: The most common and effective method. Carefully lower the battered onion, root-down, into the hot oil. You may need to use tongs or a skewer inserted into the root to stabilize it.
- Partial Immersion: If deep-frying is not possible, you can fry the onion in a generous amount of hot oil, ensuring it’s at least halfway submerged.
- Frying Time: Fry for approximately 4-7 minutes, or until the onion is deep golden brown and crispy. The exact time will vary depending on the size of the onion and the oil temperature.
- Drainage: Once fried, carefully remove the blooming onion from the oil and place it on a wire rack set over a baking sheet to drain excess oil. This prevents sogginess.
Seasoning the Bloom:
Immediately after frying, while the onion is still hot, season it generously with salt, pepper, and any other desired spices. This ensures the seasonings adhere and flavor penetrates the crispy coating.
The Essential Companion: Blooming Onion Dipping Sauce Recipes
The dipping sauce is as integral to the blooming onion experience as the onion itself. A great sauce complements, contrasts, and elevates the flavors and textures of the fried onion. Here are several popular and versatile dipping sauce recipes.
1. Classic Creamy Horseradish Sauce
This is perhaps the most iconic dipping sauce for blooming onions. Its creamy texture, tanginess, and subtle horseradish kick are a perfect foil to the fried onion’s richness.
Ingredients:
- 1 cup mayonnaise
- ¼ cup sour cream
- 2-3 tablespoons prepared horseradish (adjust to your spice preference)
- 1 tablespoon Worcestershire sauce
- 1 teaspoon Dijon mustard
- ½ teaspoon garlic powder
- Salt and freshly ground black pepper to taste
Instructions:
- In a medium bowl, whisk together mayonnaise, sour cream, prepared horseradish, Worcestershire sauce, Dijon mustard, and garlic powder until well combined and smooth.
- Season with salt and pepper to taste.
- For optimal flavor, cover and refrigerate for at least 30 minutes to allow the flavors to meld.
SEO Keywords: creamy horseradish sauce, blooming onion sauce, best dipping sauce, horseradish mayo, restaurant style dipping sauce.
2. Spicy Sriracha Mayo Dip
For those who crave a bit more heat, this Sriracha-infused mayonnaise offers a delightful combination of creamy, spicy, and slightly sweet notes.
Ingredients:
- 1 cup mayonnaise
- 2-4 tablespoons Sriracha (adjust to your heat preference)
- 1 teaspoon lime juice (optional, for brightness)
- ½ teaspoon garlic powder
- Pinch of sugar (optional, to balance heat)
Instructions:
- In a bowl, combine mayonnaise and Sriracha.
- Add lime juice, garlic powder, and a pinch of sugar if desired.
- Whisk until thoroughly combined and the color is uniform.
- Taste and adjust Sriracha or other seasonings as needed.
- Refrigerate for at least 15 minutes before serving.
SEO Keywords: spicy mayo, Sriracha dipping sauce, blooming onion spicy sauce, chili mayo, easy dipping sauce.
3. Tangy and Sweet Honey Mustard Dip
A perennial favorite, honey mustard offers a balanced sweet and tangy profile that appeals to a wide range of palates.
Ingredients:
- ½ cup mayonnaise
- ¼ cup Dijon mustard
- 2-3 tablespoons honey (adjust to sweetness preference)
- 1 tablespoon apple cider vinegar
- ½ teaspoon garlic powder
- Pinch of salt
Instructions:
- In a bowl, combine mayonnaise, Dijon mustard, honey, apple cider vinegar, garlic powder, and salt.
- Whisk until smooth and well emulsified.
- Adjust honey and vinegar to achieve your desired sweet-to-tangy ratio.
- Chill before serving.
SEO Keywords: honey mustard dipping sauce, blooming onion honey mustard, sweet and tangy sauce, classic dip.
4. Zesty Garlic Aioli
A sophisticated and flavorful option, garlic aioli brings a rich, garlicky punch that complements the fried onion beautifully.
Ingredients:
- 1 cup mayonnaise (preferably homemade or high-quality store-bought)
- 3-4 cloves garlic, minced or grated into a paste
- 1 tablespoon fresh lemon juice
- ½ teaspoon Dijon mustard
- Salt and freshly ground black pepper to taste
Instructions:
- In a bowl, combine mayonnaise, minced garlic paste, lemon juice, and Dijon mustard.
- Whisk vigorously until the aioli is smooth and well combined.
- Season with salt and pepper to taste.
- Cover and refrigerate for at least 30 minutes for the garlic flavor to infuse.
SEO Keywords: garlic aioli recipe, blooming onion aioli, creamy garlic sauce, gourmet dipping sauce.
5. Smoked Paprika and Chipotle Dip
For a smoky, slightly spicy, and complex flavor profile, this dip is an excellent choice.
Ingredients:
- 1 cup sour cream
- 2 tablespoons adobo sauce from canned chipotle peppers (or more, to taste)
- 1 tablespoon smoked paprika
- 1 teaspoon lime juice
- ½ teaspoon onion powder
- Salt to taste
Instructions:
- In a bowl, combine sour cream, adobo sauce, smoked paprika, lime juice, and onion powder.
- Stir until all ingredients are thoroughly incorporated and the dip has a uniform color.
- Season with salt to taste.
- Refrigerate for at least 20 minutes before serving.
SEO Keywords: chipotle dipping sauce, smoked paprika sauce, blooming onion smoky dip, spicy sour cream dip.
Tips for Perfect Blooming Onion and Dipping Sauce Presentation
The visual appeal of a blooming onion is as important as its taste. Presenting it attractively can enhance the dining experience.
- Serving Vessel: A shallow, wide platter or a cast-iron skillet are excellent choices for showcasing the "bloom."
- Garnish: A sprinkle of fresh parsley or chives can add a pop of color and freshness.
- Sauce Presentation: Serve the dipping sauce in a small, separate bowl alongside the blooming onion. You can also get creative by drizzling a little sauce over the top of the onion just before serving, but ensure it doesn’t make the crispy coating soggy.
- Temperature: Serve the blooming onion immediately after frying for maximum crispness. Dipping sauces are typically served chilled.
Troubleshooting Common Blooming Onion Issues
Even with careful preparation, you might encounter some common issues. Here’s how to address them:
- Soggy Coating: This is usually due to oil not being hot enough, overcrowding the fryer, or not draining properly. Ensure oil is at the correct temperature and drain on a wire rack.
- Uneven Browning: This can happen if the onion isn’t fully submerged or if the oil temperature fluctuates. Ensure consistent oil temperature and adequate oil volume.
- Batter Falling Off: The onion might not have been dried sufficiently, or the batter might be too thin. A dry dredge before battering helps prevent this.
- Onion Not Blooming Properly: This can be a result of improper cutting technique or using an onion that is too small or soft.
By understanding the nuances of onion selection, precise cutting, battering techniques, and proper frying, you can consistently achieve a spectacular blooming onion. Coupled with a perfectly tailored dipping sauce, this dish transforms from a simple appetizer into a memorable culinary centerpiece. Experiment with different dipping sauce variations to discover your personal favorite pairing, and enjoy the delightful crunch and tender sweetness of this beloved appetizer.


