
Beer Batter Fish Made Great

The Ultimate Guide to Perfect Beer Batter Fish: Achieving Crispy, Golden, and Flavorful Perfection
Achieving truly exceptional beer batter fish is a culinary pursuit that transcends mere frying. It’s about mastering a delicate balance of textures and flavors, creating a vessel for flaky, moist fish that is enveloped in a crisp, golden shell. The magic lies in the beer batter itself, a seemingly simple concoction that, when executed with precision and understanding, transforms humble ingredients into a restaurant-quality masterpiece. This comprehensive guide will dissect the elements of a superior beer batter, from ingredient selection and preparation to frying techniques and flavor enhancements, empowering you to elevate your fish fry game to its highest potential. Forget soggy bottoms and greasy coatings; we are aiming for a symphony of crunch and succulence.
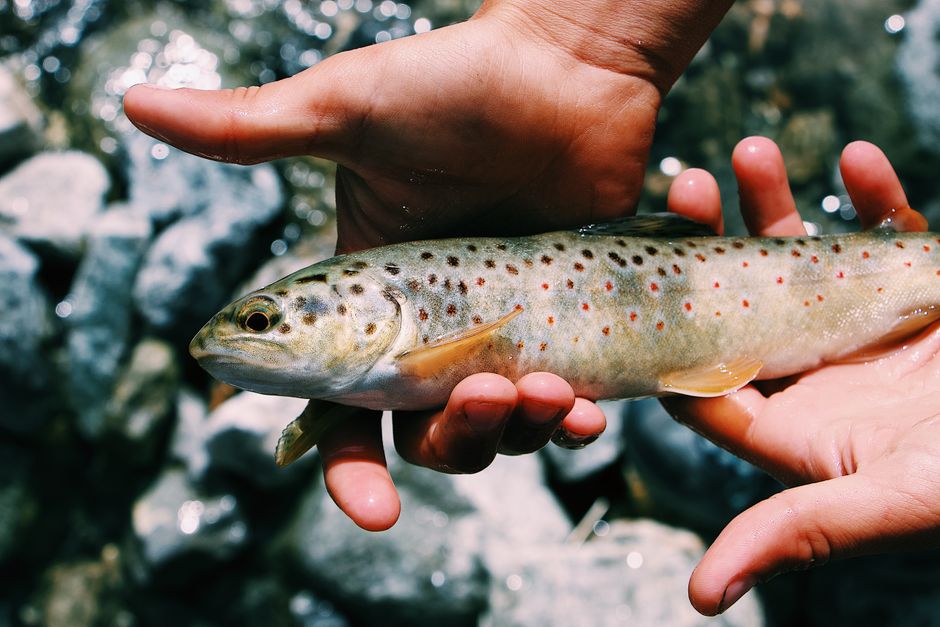
The foundation of any outstanding beer batter fish lies in the quality of its components. For the fish, fresh is paramount. Opt for firm, white-fleshed fish that hold up well to frying. Cod, haddock, and pollock are classic choices, readily available and offering a mild flavor that complements the batter. Halibut, with its firmer texture and slightly sweeter profile, is a more luxurious option. For a more robust flavor, consider tilapia or even firm ocean perch. The key is to select fish that has been properly handled and is free of excessive moisture. Patting the fish fillets thoroughly dry with paper towels before battering is a non-negotiable step. Excess surface moisture will inhibit the batter’s adhesion and prevent that coveted crispiness. Cut your fish into manageable pieces, typically 2-3 inches in size, ensuring uniform cooking. Thicker pieces will require slightly longer frying times. Some chefs advocate for a brief freeze of the fish fillets before battering; this helps them maintain their shape during the frying process and contributes to a firmer exterior.
The beer batter itself is where the true artistry comes into play. The name suggests beer, and for good reason. The carbonation in beer is a crucial leavening agent, creating air pockets that contribute to a lighter, crispier crust. The type of beer matters. A lighter, crisp lager or pilsner is generally preferred, as it provides effervescence without imparting an overpowering flavor. Avoid dark beers or those with strong malty notes, which can make the batter heavy and impart an undesirable bitterness. The temperature of the beer is also critical. Ice-cold beer is essential. The colder the beer, the more vigorous the reaction when it hits the hot oil, leading to a crisper batter. Many recipes call for chilling the beer in the freezer for a short period before use.
Beyond the beer, the dry ingredients form the backbone of the batter. All-purpose flour is the standard, but a small addition of cornstarch or rice flour can significantly enhance crispiness. These starches gelatinize at higher temperatures, contributing to a drier, more brittle crust. A common ratio is around 3 parts flour to 1 part cornstarch. Seasoning the dry ingredients is vital for developing flavor within the batter itself. Salt is non-negotiable, enhancing both the batter and the fish. White pepper offers a subtle bite without the visual flecks of black pepper. A pinch of cayenne pepper or paprika can add a touch of warmth and color. Garlic powder and onion powder are also popular additions for savory depth. Be mindful of over-seasoning, as the fish will also be seasoned separately.
The mixing of the batter is an exercise in restraint. Overmixing develops the gluten in the flour, resulting in a tough, chewy batter rather than a light, crisp one. Aim for a batter that is just combined, with some small lumps remaining. This indicates that the gluten has not been overdeveloped. The ideal consistency of the batter is one that coats the back of a spoon with a thick, but not gloopy, layer. It should drip off the spoon slowly. If the batter is too thick, add a touch more beer. If it’s too thin, add a tablespoon of flour at a time until the desired consistency is achieved. Some recipes advocate for letting the batter rest for a short period, allowing the flour to hydrate. However, for optimal crispiness, it’s often best to use the batter immediately after mixing, especially when using ice-cold beer.
Beyond the basic beer batter, flavor enhancements can elevate your fish fry to new heights. For a touch of umami, consider adding a tablespoon of Worcestershire sauce or a pinch of MSG to the dry ingredients. A dash of hot sauce can add a subtle kick. For a more herbaceous note, finely chopped parsley, chives, or even dill can be incorporated directly into the batter. Don’t be afraid to experiment with spices. A touch of smoked paprika can impart a delicious smoky undertone, while cumin can add an earthy warmth. Consider adding a tablespoon of nutritional yeast for a cheesy, savory flavor without dairy. The key is to find a balance that complements, rather than overpowers, the delicate flavor of the fish.
The frying process is where the magic truly happens, and temperature control is paramount. You’ll need a neutral-flavored oil with a high smoke point, such as canola, vegetable, or peanut oil. Fill your pot or deep fryer about one-third to half full. The ideal frying temperature for beer batter fish is between 350°F and 375°F (175°C to 190°C). Using a thermometer is essential for maintaining this temperature. If the oil is too cool, the batter will absorb too much oil, resulting in a greasy, soggy fish. If the oil is too hot, the batter will cook too quickly on the outside, leaving the fish undercooked on the inside, and the batter may burn before the fish is done.
Before frying, ensure your fish fillets are dry and then immediately dip them into the prepared beer batter, ensuring they are fully coated. Allow any excess batter to drip off before carefully lowering them into the hot oil. Do not overcrowd the frying vessel. Frying too many pieces at once will lower the oil temperature significantly, leading to suboptimal results. Fry in batches, allowing the oil to return to temperature between each batch. The frying time will vary depending on the thickness of the fish, but generally, each piece will take 3-6 minutes per side, or until golden brown and cooked through. The internal temperature of the fish should reach 145°F (63°C).
As the fish fries, it will puff up and become golden brown. Use a slotted spoon or spider strainer to carefully turn the pieces, ensuring even cooking and browning on all sides. Once cooked, remove the fish from the oil and place it on a wire rack set over a baking sheet. This allows air to circulate, preventing the bottom from becoming soggy and keeping the fish crisp. Avoid draining on paper towels, as this can trap steam and lead to a less crisp exterior. Season the fish immediately with a sprinkle of salt while it is still hot. This allows the salt to adhere better.
Serving beer batter fish is an experience that benefits from thoughtful accompaniment. Classic pairings include thick-cut fries, coleslaw, tartar sauce, and lemon wedges. The acidity of the lemon cuts through the richness of the fried fish and batter. For a twist on tartar sauce, consider adding capers, dill pickles, or a touch of Sriracha. Malt vinegar is another traditional and excellent condiment, providing a tangy counterpoint. For a more refined presentation, consider serving with a side of minted mushy peas or a vibrant green salad. The key is to balance the richness of the fried fish with fresh, bright flavors.
Troubleshooting common issues is part of the learning process. If your batter is not sticking, ensure your fish is thoroughly dry and that your batter is not too thin. If your batter is falling off during frying, it could be too wet or you might be overcrowding the pan, causing the temperature to drop too low. If your fish is greasy, the oil temperature was likely too low. If your batter is dark and burnt but the fish isn’t cooked, the oil was too hot. Consistent oil temperature and proper batter consistency are your best defenses against these problems.
For an even crispier finish, consider a double-dip method. After the initial battering and frying, let the fish drain, then dip it again in the batter and fry for a second time. This creates an even thicker, more robust crust. However, this method requires careful attention to oil temperature to avoid overcooking the fish. Another technique for enhanced crispiness involves dusting the dry fish with a light coating of flour before dipping it in the beer batter. This provides an extra layer for the batter to adhere to.
The importance of the quality of your oil cannot be overstated. Using old or burnt oil will impart an off-flavor to your fish and batter. Regularly change your frying oil, especially if you fry frequently. Filter your oil after each use to remove any cooked-on bits that can degrade its quality. Properly storing your frying oil in a cool, dark place will extend its lifespan.
In conclusion, crafting exceptional beer batter fish is an achievable goal with a focus on quality ingredients, precise technique, and a willingness to experiment. By understanding the role of each component, from the carbonation of the beer to the temperature of the oil, you can consistently produce a dish that is both visually appealing and incredibly delicious. The journey to perfect beer batter fish is one of culinary exploration, where practice and attention to detail lead to undeniably satisfying results. Embrace the process, enjoy the crunch, and savor the flavor.


